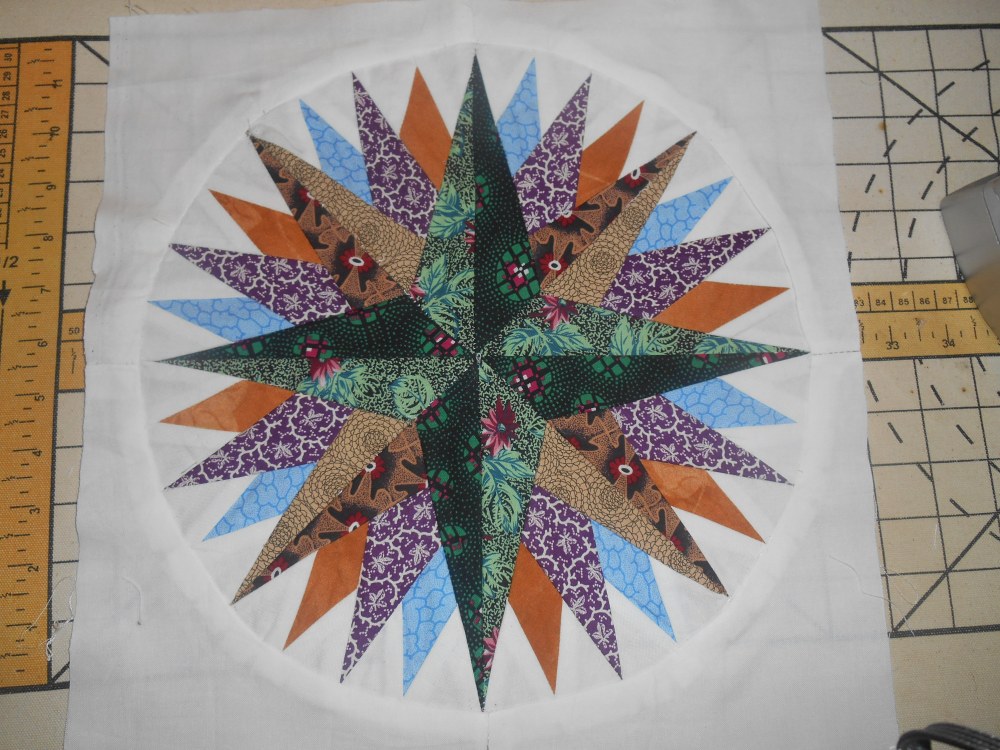
Last time I went over the Mariner’s Compass but did not show how to set it in a square. The way you sew this is a little different then the Drunker’s Path. Curves can be very intimidating. The Mariner’s Compass takes some patients but it is not as hard as it looks. I cut out the four pieces that makes the square. I over sized my cut for extra insurance that I could make sure I would have a large enough circle. There is so many seams and pieces to this block and I have never gotten on to be exactly the same size the pattern says it should be. It always turns out a little larger no matter how careful you sew on the line. There are several reasons why that happens. It can be the thickness of the paper and fabric or the stitch length. It can be your printer is skewed a little when it prints from the pattern. So it is always a good idea to cut the four pieces a little larger.
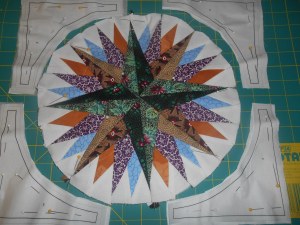
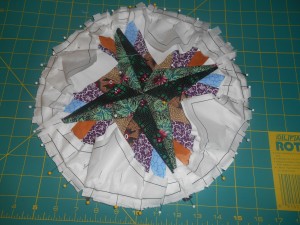
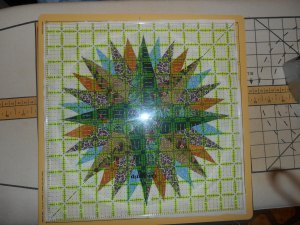
I sewed the four pieces together but I added an eighth of an inch to each piece’s seam. This give you a little larger circle to work with. Which I ended up needing. I carefully clipped and pinned the background to the compass. I lined up the 4 large points to the seams in the background to start with then the four smaller one to the corners. After that I clipped and pinned the rest down.
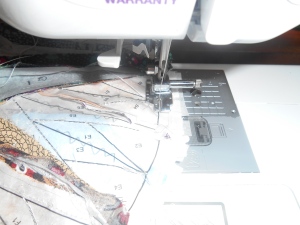
I find it easier to sew if I remove the paper from the background fabric. I find that I get tucks in the background fabric and the paper is just to stiff to mold in a circle even with clips in the seams. I know some quilters who do leave the paper on and do fine with it. I place more pins as I cut the paper away. I leave the paper on the compass. I sew from the compass side using the circle line as a guide.
There is usually a few points that need to be fixed because they get cut off. I do this with a seam ripper and a needle and thread. Then I go over the hand sewing with the machine. I have more control by hand. Hand piecing is a good skill to have even though you never intend to hand piece a whole quilt. It is a great tool for fixing points.
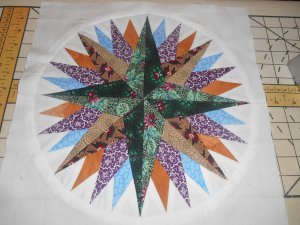
You can often run across one that will be a challenge, I just do what I can and hope it will quilt out OK. After the block is quilted the flaws seem to fad away. After you have your points looking as good as you can get them, it is time to remove the paper from the compass back. I do this before I press. The compass will press better and shape nicer without the paper. Before you press check to make sure you are not under size and your compass centers nice.
Now you press the compass into submission to she shape it should be. Spray starch can help to hold it shape until it is quilted.
I now have 25 blocks finished for the sampler quilt.
It is beautiful!
LikeLike
Thank you. It isn’t hard to do just takes time to fiddle with it.
LikeLike
Beautiful! I love the colors.
LikeLike
It is older scraps from the late 80’s to 2000 of reproduction fabrics. Thanks for your complement.
LikeLike
Beautiful! One day I will work up the courage to attempt either this or a Dresden plate pattern.
Happy Quilting!
LikeLike
Practice with some scraps and have a little fun. You can always turn it into a throw pillow cover. Working on a sampler quilt has really sharpened my skills. It is letting me try things.
Thanks for your comment.
LikeLike
Wow! This looks fantastic! 🙂 xx
LikeLike
Thank you.
LikeLike
I don’t have a lot of experience with Mariners Compass, but I know I’ve never seen one with that much color variety. It almost makes me willing to try it. But don’t even think about encouraging me in that department. I’m going to stay with things that have the possibility of being completed in my limited chunks of time. 😉 Still, yours is stunning! 🙂
LikeLike
You can always do just one and use it in a pillow. Thanks for taking the time to comment.
LikeLike
I could, but when I finally get some time to quilt as I want to, I have plenty of other projects in line. 😉 As much as I love your mariners compass, the voices of the other projects calling to me will drown that one out. For now, anyway. 😉
LikeLike
Wow…this is amazing. Can’t wait to see all the blocks put together!
LikeLike
The fun part starts laying them out. I haven’t done that yet.
Thank you and please come by again.
LikeLike
I just finished my first Mariner’s Compass. I paper pieced it and am now working on the corner pieces. I have less than 2 hours to finish it and pack for vacation. I am planning on doing the hand quilting next week as it is a baby gift. Wish me luck…. was fun and will do more and larger ones.
LikeLiked by 1 person